A transparent PNG can look perfect on a website or inside a design application, then appear with a white rectangle after conversion to PDF. In other cases, the transparent area looks black in a thumbnail even though the printed page is white. These results come from the way transparency, page backgrounds, and PDF viewers interact.
The safest approach is to decide what the background should be before conversion rather than leaving the result to the converter or viewer.
How PNG transparency works
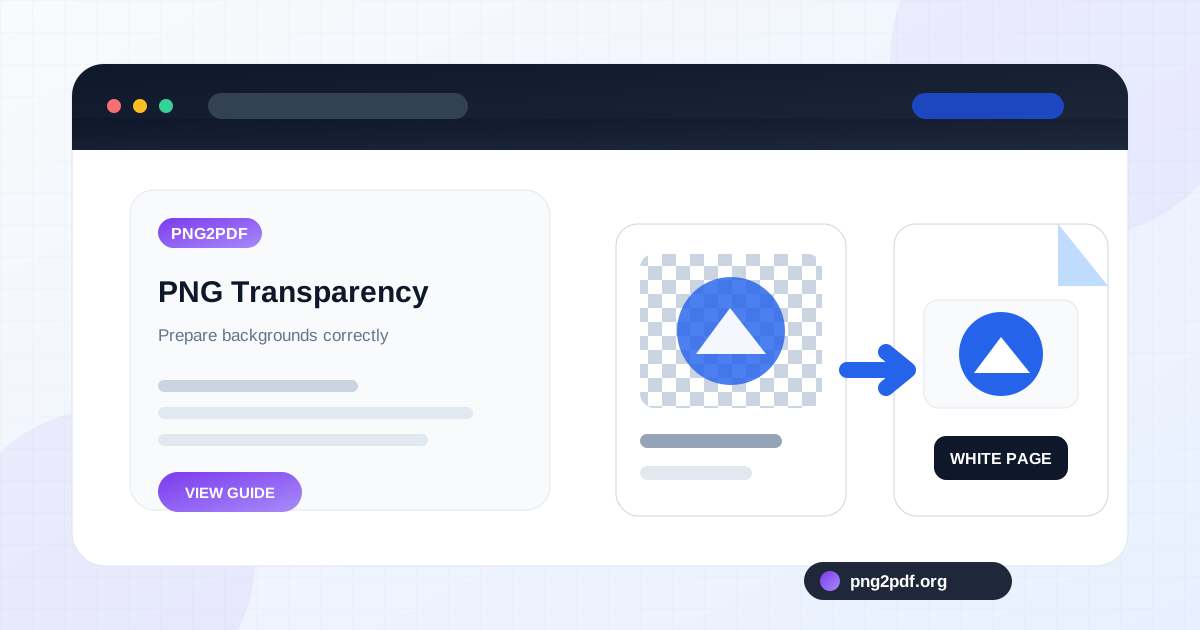
PNG can store an alpha channel. Each pixel can be opaque, partially transparent, or fully transparent. A logo with no visible background is not floating in empty space; it contains pixels whose alpha values tell the display software to reveal whatever is behind them.
On a white webpage, those areas look white. On a dark editor canvas, they look dark. In an image editor, a checkerboard is often used to indicate that no background color has been assigned.
A PDF page still has a visible background
A PDF is normally displayed as a page, and readers commonly show that page as white. When a transparent PNG is placed on it, transparent pixels reveal the page beneath. If the conversion process flattens the image first, it may replace transparency with white pixels.
This is often desirable for ordinary documents. A transparent signature, icon, or diagram placed on a white page looks natural and prints predictably. The surprise occurs when the graphic was designed for a dark or colored background.
Why some viewers show black behind transparent areas
Thumbnails, file managers, and older rendering paths may display transparent pixels against black or another default color. This does not always mean the PDF itself has a black background. Open the file in a full PDF reader and inspect the page before changing the source.
If black appears in the actual page and in print preview, the image may have been flattened incorrectly during conversion. Reopen the PNG in an editor and export a version with an explicit background.
Choose the background color deliberately
For documents, white is the safest default. Create a white layer beneath the transparent artwork, verify contrast, and export a new PNG. The PDF will then contain a predictable image rather than depending on how transparency is interpreted.
For a dark design, place the intended dark color behind the artwork before export. Do not assume the PDF page will inherit the background used on a website, slide, or design canvas.
Check anti-aliased edges
Transparent graphics often have partially transparent edge pixels that smooth curves and text. A white logo prepared on a dark background may develop a pale halo when placed on white, or a dark halo when the reverse happens. The edge pixels were blended for the original background.
Export the graphic against the background it will actually use, or create the artwork with clean transparency from the original vector source. Repeatedly removing backgrounds from small raster images tends to produce rough or contaminated edges.
Logos and icons: keep the master asset
A PNG is useful for screen delivery, but a vector logo is a better master when available. SVG, EPS, AI, or a vector PDF can scale without pixelation and can be exported for different backgrounds. Keep light and dark logo variants rather than forcing one transparent file to work everywhere.
If the only source is PNG, use the highest-resolution original. Avoid downloading a tiny website thumbnail and enlarging it for a PDF.
Transparent signatures and stamps
A signature PNG often needs transparency so it can sit over a form. When converting the signature alone into a PDF page, however, a white background is usually appropriate. When placing it onto an existing form, use software that preserves the overlay and confirm that the signature is positioned correctly.
Be cautious with legal or approval workflows. A visual signature image is not the same as a cryptographic digital signature, and requirements vary by organization and jurisdiction.
Use the right image-fit mode
Transparency is separate from image fit, but the settings can affect how the result looks. Contain preserves the full transparent canvas, including invisible padding around the object. If the graphic appears very small, crop transparent outer pixels before conversion.
Cover may crop the design, while Stretch can distort it. For logos, icons, and signatures, contain is usually the safer option after unnecessary transparent padding has been removed.
Prepare a transparent PNG for a standard PDF page
- Open the PNG over the intended page color.
- Inspect edges at high zoom for halos or leftover pixels.
- Crop unnecessary transparent canvas.
- Add an explicit background if transparency is not needed in the document.
- Export at a resolution appropriate for the final page.
- Convert using Contain and a sensible margin.
- Open the PDF in a second viewer and check print preview.
When to keep the PNG instead of converting it
Keep the transparent PNG when the recipient needs an asset to place on different backgrounds, use on a website, edit in a design, or combine with other graphics. Convert it to PDF when the goal is a fixed document page, a proof sheet, an approval copy, or a printable packet.
The broader PNG vs PDF comparison explains why the two formats often belong in the same workflow. One is the flexible image asset; the other is the stable document package.