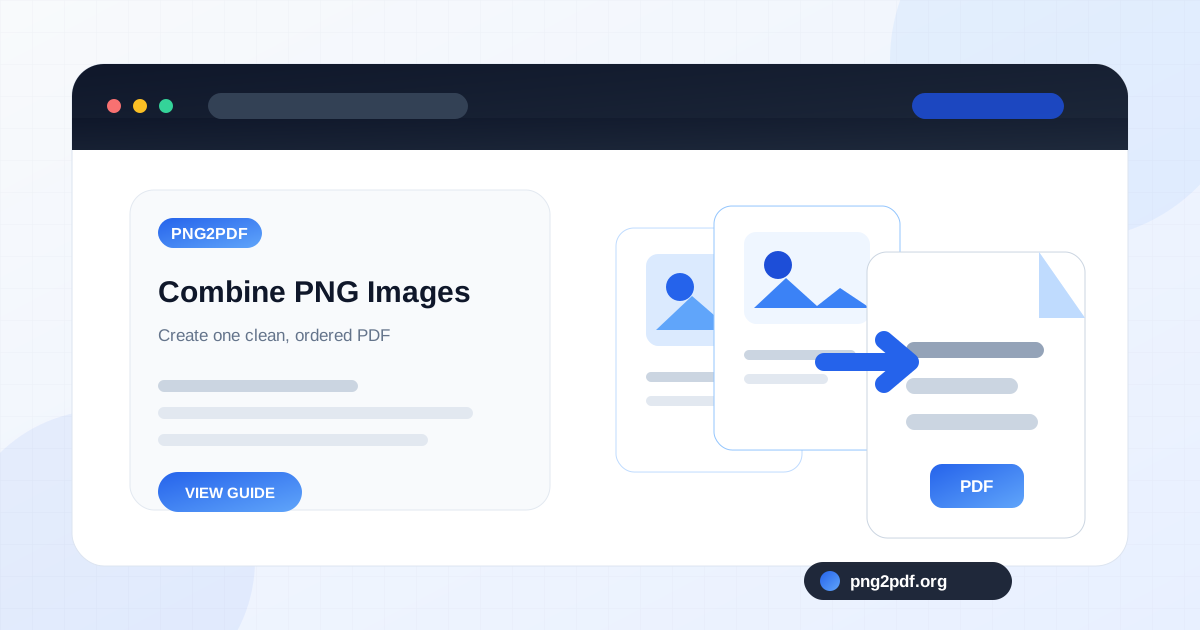
A folder full of PNG files is easy to create and surprisingly awkward to share. Screenshots arrive one at a time, scanned pages are saved as separate images, and exported designs often use numbered filenames that make sense only on the original computer. Combining those files into a single PDF turns a loose collection into a document with a clear page order.
The conversion itself is simple. The choices made before conversion—file order, page size, orientation, margins, and image fit—determine whether the finished PDF feels deliberate or looks like a stack of images dropped onto random pages. This guide focuses on those choices and on preserving the sharp text, diagrams, and interface details that make PNG useful in the first place.
Prepare the PNG files before merging them
Start by opening the folder and checking that every image belongs in the final document. Remove duplicates, temporary crops, and alternate versions. A ten-second cleanup at this stage is easier than finding an unwanted page after the PDF has been sent.
Rename files when their current names do not reflect the intended reading order. A sequence such as
01-cover.png
,
02-overview.png
, and
03-details.png
is safer than relying on capture times or names such as
Screenshot 147.png
. Numbering is especially useful when you are combining pages from more than one device.
Check orientation as well. A portrait scan placed between landscape screenshots is not a problem if the converter can choose orientation automatically, but it should still be intentional. Rotate sideways images before conversion if the image itself—not merely the page—is incorrectly oriented.
Choose an order that works as a document
PDF readers display pages in a fixed sequence. That is the main advantage over sending separate images, but it also means the order deserves attention. Put a cover or summary first when the reader needs context. Keep chronological screenshots chronological. For instructions, place each action immediately before the result it produces.
When using the PNG to PDF converter , add all files and review the preview list before creating the document. Use the up and down controls rather than assuming the browser selected files alphabetically. File pickers can return items in an order that differs from what you see in a folder window.
Select a page size based on how the PDF will be used
A4 is a strong default for documents that may be printed in most countries. Letter is the familiar office-paper format in the United States and Canada. A3 is useful for large diagrams, while A5 works for compact handouts or small-format notes.
Standard paper sizes create consistent pages, which helps a mixed collection feel like one document. The tradeoff is that wide or unusually tall images may need more white space or may be scaled down. For a detailed comparison, see the PNG-to-PDF quality guide .
Use the right image-fit setting
Contain is the safest option when nothing should be cropped. It scales the PNG until the entire image fits inside the available page area while preserving its proportions. Empty space may appear around the image, but every pixel remains visible.
Cover fills the page area and may crop edges. It can work for decorative images, but it is risky for screenshots, receipts, diagrams, or scanned pages where information often sits close to the border.
Stretch forces the image to fill the available area without preserving its proportions. This can make circles oval and text look wider or narrower. Use it only when exact proportions are not important.
Keep quality by avoiding unnecessary resampling
PNG uses lossless compression, so repeated PNG saves do not introduce the blocky artifacts commonly associated with heavily compressed JPEG files. That does not mean every PDF workflow is automatically lossless. Quality can still drop if an image is resized to a very small page area, converted through a tool that recompresses it aggressively, or captured again from the screen after conversion.
Use the original PNG files rather than screenshots of those files. Choose a page layout large enough for the content. If the source is a long, narrow mobile screenshot, a portrait page with small margins usually preserves more readable detail than forcing it onto a landscape sheet.
Manage margins with the content in mind
Margins create breathing room and reduce the chance that a home or office printer clips content near the edge. Ten millimeters is a practical starting point for ordinary documents. Increase the margin for handwritten notes or pages that will be punched, bound, or annotated.
Use a smaller margin for screenshots with small interface text, provided important content does not touch the image edge. A zero-margin layout can maximize image size, but many printers cannot print all the way to the paper edge.
Why the finished PDF may be large
A PDF that contains several high-resolution PNG files can be close to the combined size of those images, and sometimes larger because the document also stores page structures and supporting data. Screenshots with flat colors and text often compress efficiently as PNG. Photographs saved as PNG can be much larger than necessary.
When file size matters, crop unused areas before conversion and remove duplicate pages. For photo-heavy material, converting the photos to an appropriate JPEG quality before building the PDF can reduce size substantially, though that changes the workflow from lossless PNG. More options are covered in how to reduce PDF file size after PNG conversion .
Review the PDF before sharing it
Open the downloaded PDF and move through every page. Confirm that the first page is correct, no image is upside down, text remains readable at a normal zoom level, and no edge has been cropped. Also check the filename. A specific name such as
product-onboarding-screenshots.pdf
is more useful than
document-final-2.pdf
.
For records, evidence, or application documents, keep the original PNG files until the recipient confirms that the PDF is acceptable. The PDF becomes the convenient sharing copy; the source images remain the safest master files for future edits or a different layout.
If separate image collections have already been converted into several PDFs, use Merge PDF to combine them. The guide to merging PDF files in the right order explains how to prevent duplicated sections and misplaced attachments.