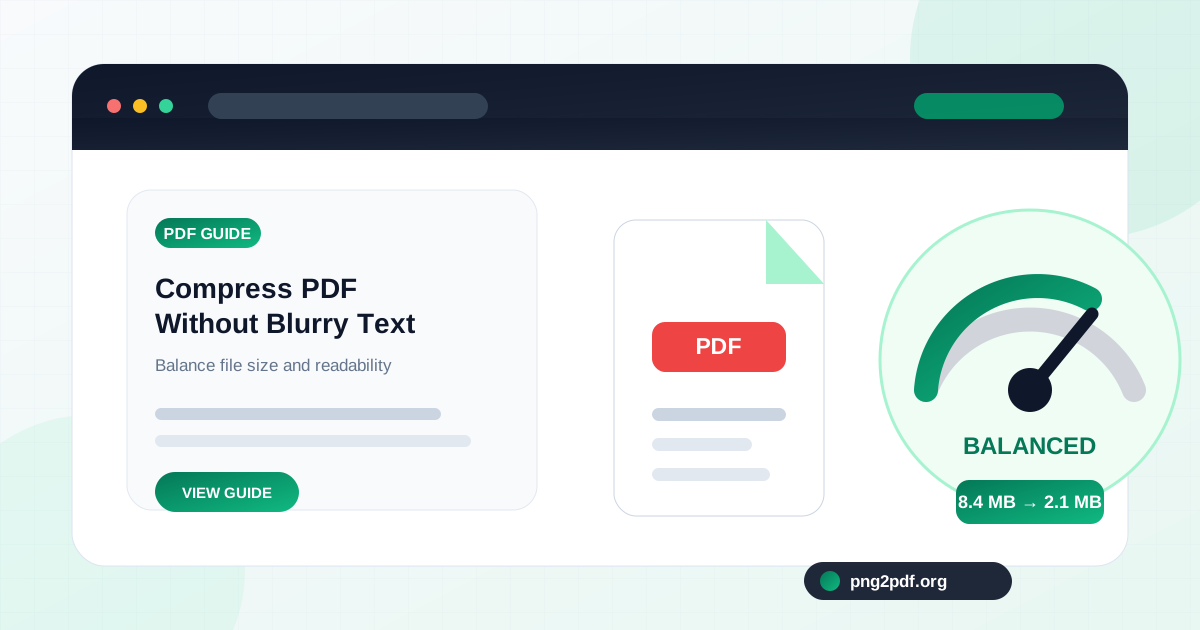
PDF compression is a balance rather than a race toward the smallest possible file. A document that falls below an email limit but turns account numbers, footnotes, or signatures into a blur is no longer useful. The right target is the smallest version that still preserves the information a reader needs.
The PNG2PDF Compress PDF tool is designed for image-heavy PDFs such as scans and documents created from screenshots. It rebuilds pages at a selected quality level, so the visible result should be reviewed carefully before the original is replaced.
Identify what makes the PDF large
Large PDFs commonly contain high-resolution scans, camera photographs, full-page screenshots, or images with dimensions far beyond their displayed size. A 100-page scan can contain millions of pixels per page. Even when each page looks simple, the combined image data adds up quickly.
Text-first PDFs generated from a word processor may already be compact. They store letters, fonts, and vector shapes efficiently. Rebuilding those pages as images can remove searchable text and may not create a worthwhile reduction. Compression is most effective when the file is dominated by raster images.
Choose a compression level based on the content
Light compression is appropriate for small text, forms, diagrams, and documents that may be printed. It aims to reduce oversized image data while retaining more detail.
Balanced compression suits general scans, receipts, records, and screen-viewed documents. It usually provides a more noticeable size reduction while keeping ordinary text readable.
Strong compression is best reserved for files that must meet a strict upload limit and do not depend on tiny details. It should always be checked at 100% zoom because thin strokes and small characters can soften quickly.
Test the most difficult page first
Do not judge quality only from the cover. Find the page with the smallest type, faintest handwriting, densest chart, QR code, barcode, or most detailed photograph. That page is the best indicator of whether the selected compression level is safe.
After creating the compressed copy, compare it with the original side by side. Check at 100% zoom, then zoom in on critical details. If the difficult page survives, simpler pages are likely to remain acceptable.
Compress a PDF step by step
- Open the Compress PDF tool and select the source document.
- Review the original file size and page count.
- Start with Light or Balanced rather than the strongest setting.
- Enable grayscale only when color is not needed to interpret the document.
- Create the compressed PDF and note the new file size.
- Open the result and inspect text, graphics, codes, signatures, and page orientation.
Keep the source PDF unchanged. Save the compressed result under a new name such as
report-compressed.pdf
until the new copy has been verified.
When grayscale helps
Grayscale can reduce image data in scans that contain black text on white paper, especially when the scanner stored the pages as full-color photographs. It is useful for monochrome forms, typed records, and many receipts.
Do not use grayscale when color conveys meaning. Colored chart series, highlighted corrections, stamps, maps, medical images, or identity documents may become ambiguous. A smaller file is not worth losing information that the reader cannot reconstruct.
Why some PDFs barely shrink
A file may already contain compressed images at an efficient resolution. It may also consist primarily of text and vector graphics, leaving little image data to reduce. In those cases, the new PDF can be similar in size—or occasionally larger—because rebuilding adds a different internal structure.
Encrypted, damaged, or unusually complex PDFs may also resist processing. If a document contains many embedded files, fonts, layers, or multimedia elements, an image-based rebuild targets the visible pages rather than every source of size.
Understand the trade-off of image-based compression
Rendering each page and creating a new image-based PDF can flatten the document. Searchable text, selectable text, hyperlinks, form fields, comments, bookmarks, layers, and accessibility structure may be lost. Digital signatures will not remain valid after the document is rebuilt.
This trade-off is acceptable for many scanned records because the pages were images already. It is less suitable for accessible reports, fillable forms, signed agreements, and documents that rely on text search. Keep the original and choose a different workflow when those features matter.
Reduce the source before compressing the result
Remove duplicate or unnecessary pages first. If only a section is needed, use Split PDF to extract it rather than compressing the entire document. If several smaller documents must later become one package, use Merge PDF after each component is prepared.
For PDFs created from PNG images, the detailed guide to reducing PDF size after PNG conversion covers cropping empty pixels, resizing oversized sources, and choosing JPEG for photo-like material. Fixing the images before conversion often preserves more quality than aggressive compression afterward.
Protect barcodes, QR codes, and fine lines
Machine-readable codes require clean edges and sufficient contrast. Strong compression can introduce blur or artifacts that make a code unreliable. Test every code with the device or software that will be used by the recipient.
Engineering drawings, musical notation, signatures, and small table borders also depend on thin lines. Inspect them at normal viewing size and print a sample when the document is intended for paper.
Use splitting when the limit is still too strict
Sometimes a readable 60 MB document cannot become a readable 5 MB document. If the receiving system accepts multiple files, divide the PDF at logical boundaries. The guide to splitting a PDF by page range explains how to create manageable sections and name them consistently.
A pair of clear 8 MB files is often more useful than one 5 MB file whose pages are difficult to read.
Quality checks after compression
- Small body text is readable at 100% zoom.
- Signatures and handwriting retain their strokes.
- QR codes and barcodes still scan reliably.
- Charts remain understandable, including color distinctions.
- No page is cropped, rotated, missing, or duplicated.
- The output opens on another device or PDF reader.
- The size reduction is large enough to justify any lost features.
Compression succeeds when the file becomes easier to send or store while the document remains dependable. Treat readability, page integrity, and required PDF features as firm limits rather than optional details.